
This post serves as my personal record of the steps required to integrate an ESPresense ESP-32 device into my Home Assistant setup. Additionally, I hope it will be helpful to others. The screenshots included were taken in February 2024 and might have been updated since then.
ESPresense:
- ESPresense constitutes a dedicated hardware unit centered on an ESP32 microcontroller, renowned in IoT (Internet of Things) endeavors for its affordability and inherent Wi-Fi functionalities. Employing Bluetooth, it functions as a presence sensor, syncing with a wearable Bluetooth-enabled device, such as a smartwatch in my instance.
- Facilitating communication with Home Assistant, the ESPresense device utilizes MQTT (Message Queuing Telemetry Transport) integration to transmit data regarding detected presence occurrences or sensor data.
Requirements:
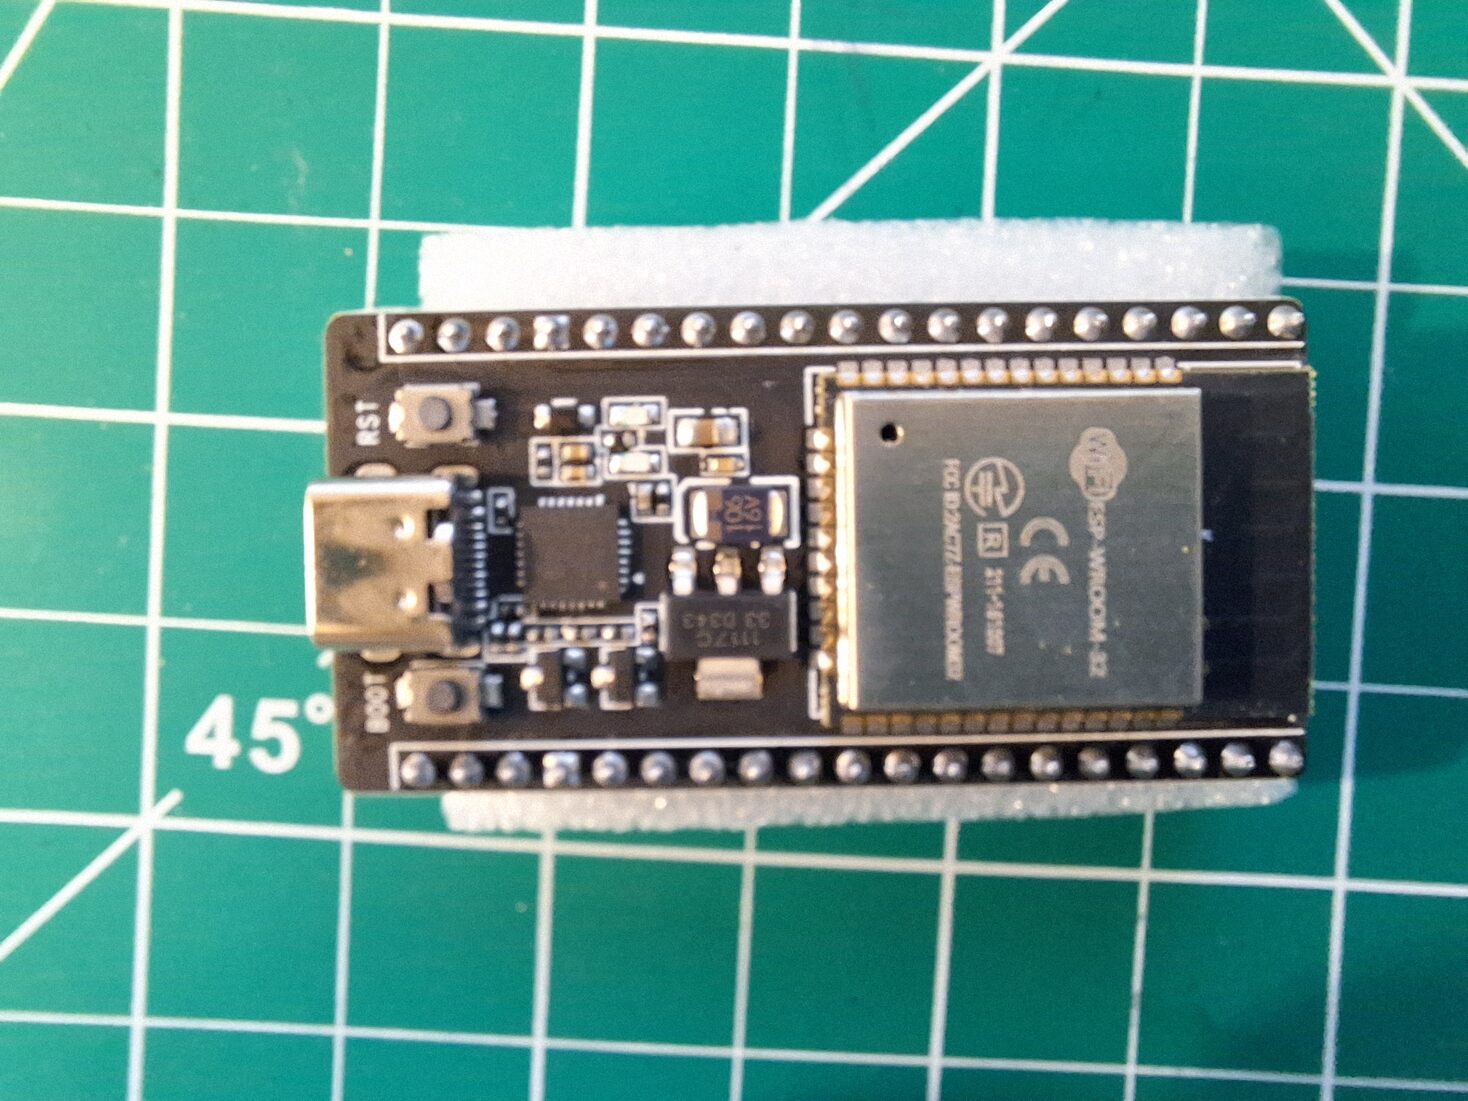
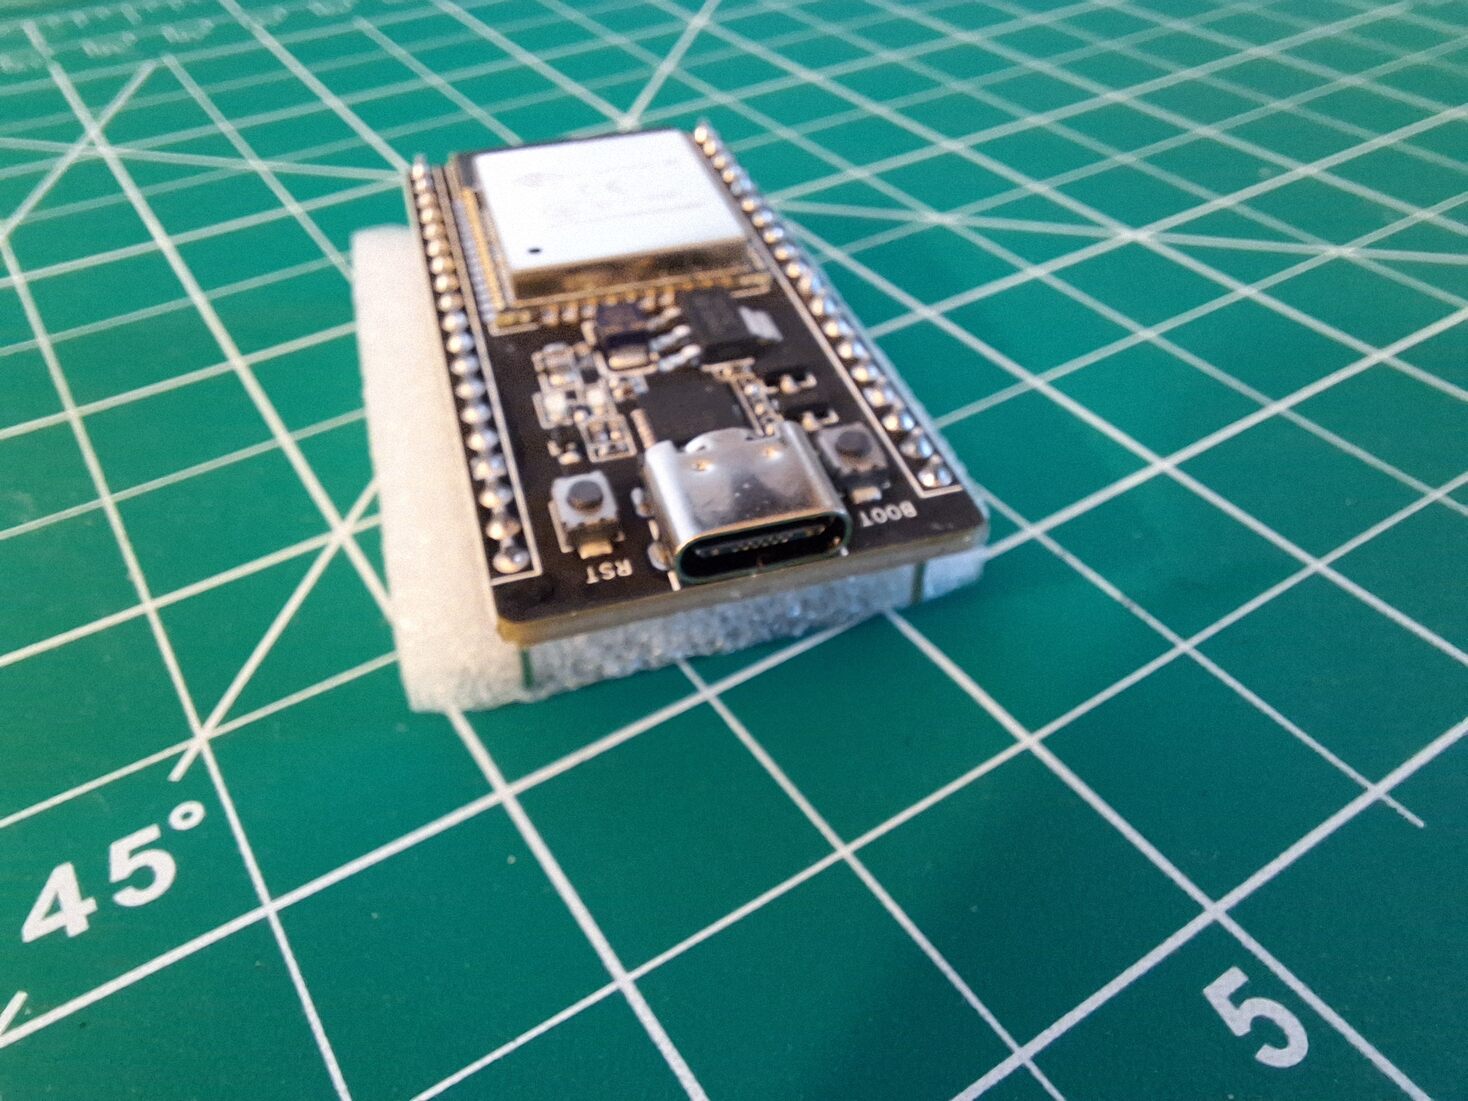
- An ESP32 development board that is compatible with ESPresense. There are videos describing these as well as a list of them on https://espresense.com.
The ones I used are from Amazon.com: “AITRIP 3PCS 38Pins Type-C USB ESP32S ESP32 ESP-WROOM-32 Development Board 2.4GHz WiFi Dual Cores Microcontroller Integrated with Antenna RF Low Noise Amplifiers Filters for Arduino IDE“
- An essential component is a USB cable featuring the same connector as the ESP32 board, designed explicitly for data transmission. Differentiating between charging and data cables can be challenging. To ascertain a cable’s functionality, connect it between your phone and a computer or any other data transfer-capable device. If the computer recognizes your phone and allows file or data transfer, the cable supports data transmission. Conversely, if the device solely charges without enabling data transfer, it likely serves as a charging-only cable.
- The MQTT Broker installed in Home Assistant. A good description of how to do this is at https://pimylifeup.com/home-assistant-mqtt/
- A Windows computer. I typically use Linux but kept getting errors when I tried to send the ESPresence code to the ESP-32. I tried installing drivers, etc. but finally said “screw it” and pulled out a Windows Laptop which worked just fine.
Steps:
Part one – installing the software onto the ESP32
- Plug the USB cable into the ESP32 and the other end into your Windows Computer.
- Open a web browser, either Chrome or Edge. I used Chrome. Navigate to https://espresense.com/firmware
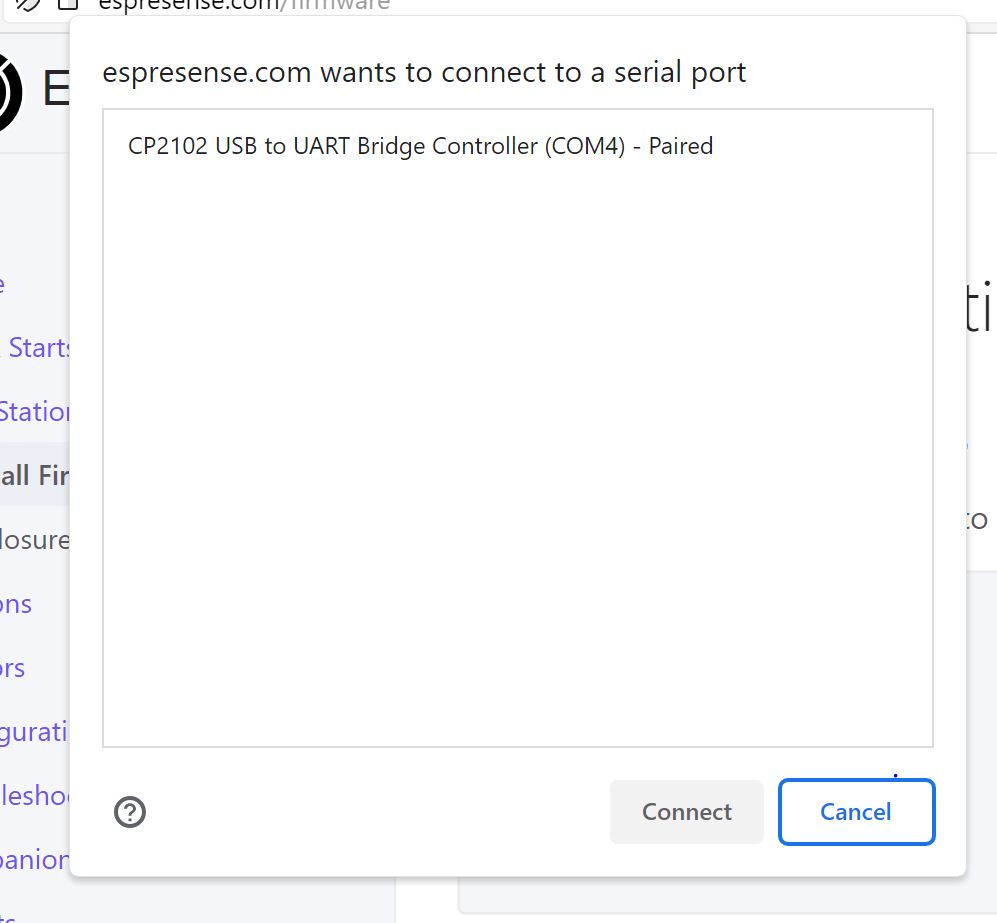
- Click the “CONNECT” button and the page will look for the PC to ESP32 connection. You should see something like:
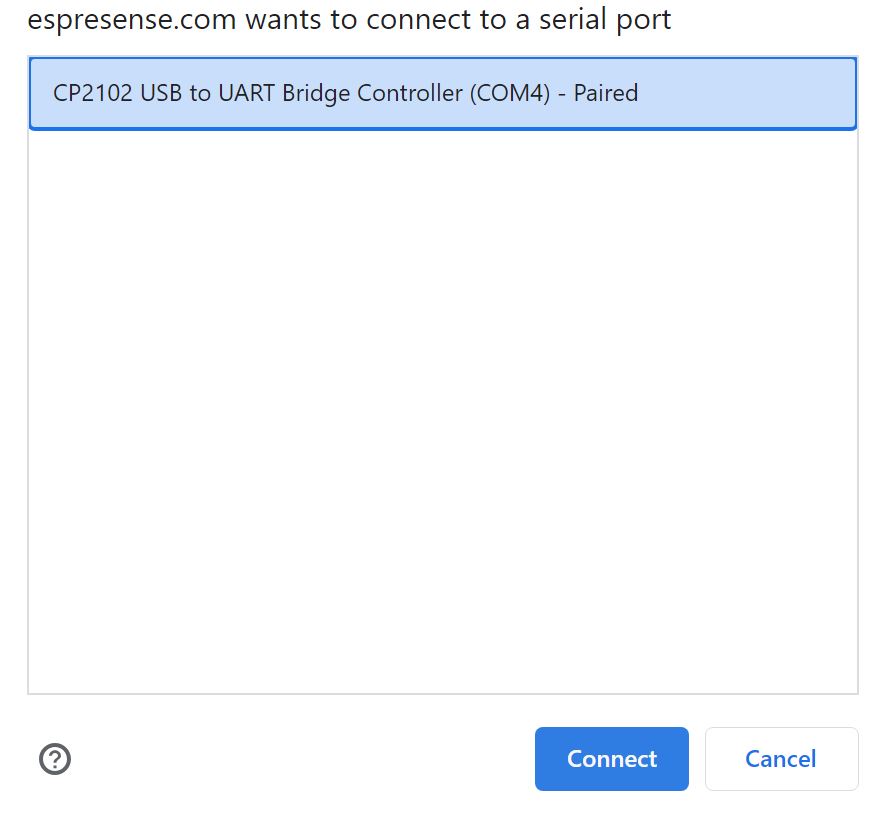
: - Select the line with your mouse and click Connect:
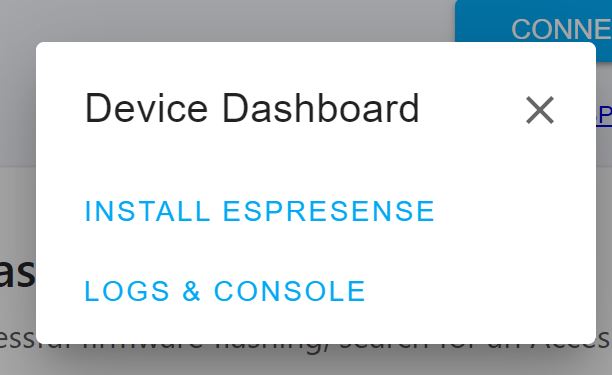
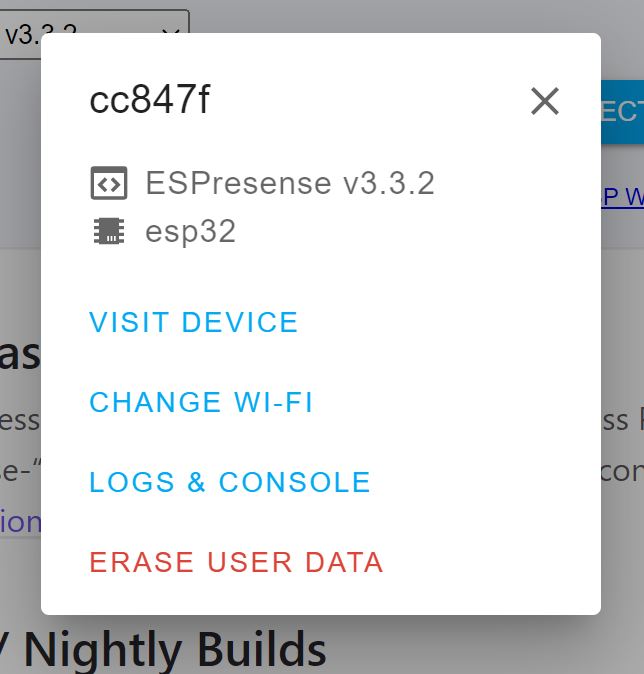
- After connecting you should see a popup:
- Click the “INSTALL ESPRESENSE” menu item to start the install.
- A second popup appears. I choose to erase device, then click NEXT
- Yet another popup appears asking for confirmation. Click INSTALL:
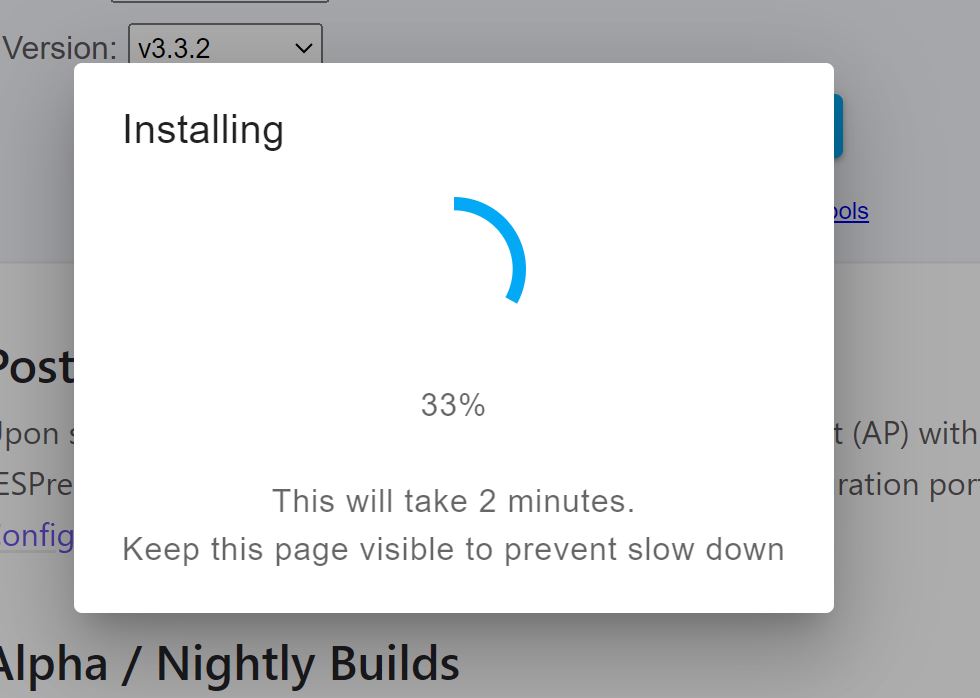
- The installation process will start and status messages will appear in the popup. It takes a couple of minutes for the software to install.
- Of course when I tried this I got an error:
- So I pressed back, and tried again, this time holding the “boot” button on the ESP32 down until the install actually started to show a progress bar.
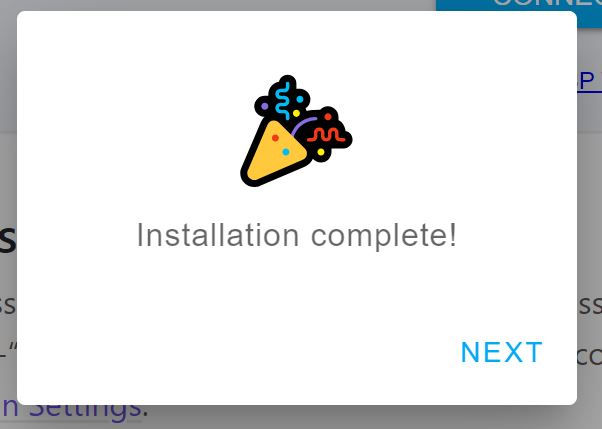
- When the installation is complete you will get the completion message:


Part 2 – configuration
- In the steps that follow you will need the MAC address of the device, in my case my Amazefit watch, that you are going to use. You are going to use the MAC address to get the device id of the device you are going to use with the ESPresense sensors. You can use an Android Bluetooth App to get the MAC address of your device. I find this to be the easiest way. I use the app BLE Scanner, but there are others. Find the find the address and write it down.
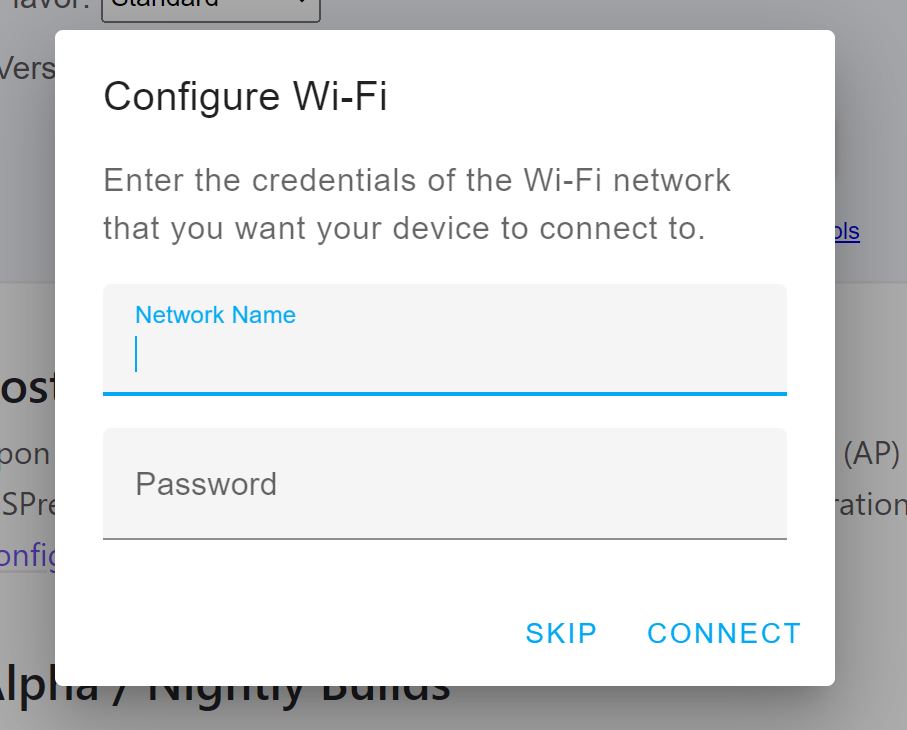
- After clicking NEXT you are prompted to enter the SID network name and password you want the ESP32 to connect to:
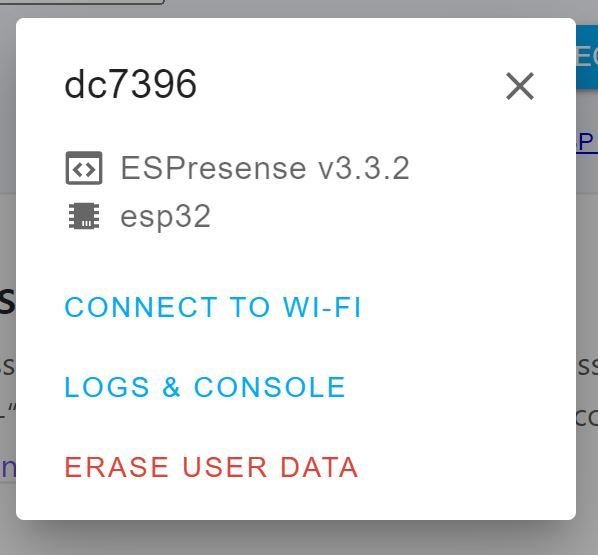
- I skipped this and went to a new popup that let me look at the logs, click on the LOGS & CONSOLE link. At this step I have gotten different responses. I either see the following popup:
or I get: - In the first case you can click the link to go to the LOGS & CONSOLE page. Reset the ESP32 and it should start displaying Bluetooth devices that it sees. Look for the device with the MAC address that matches your device. You should have your device near the ESP32. To the right of the MAC address is the device_id. Sometimes they are the same, but in my case they were different. In the image below you see the device id mifit:ca7f057a726c. Copy yours down, you will need it later.
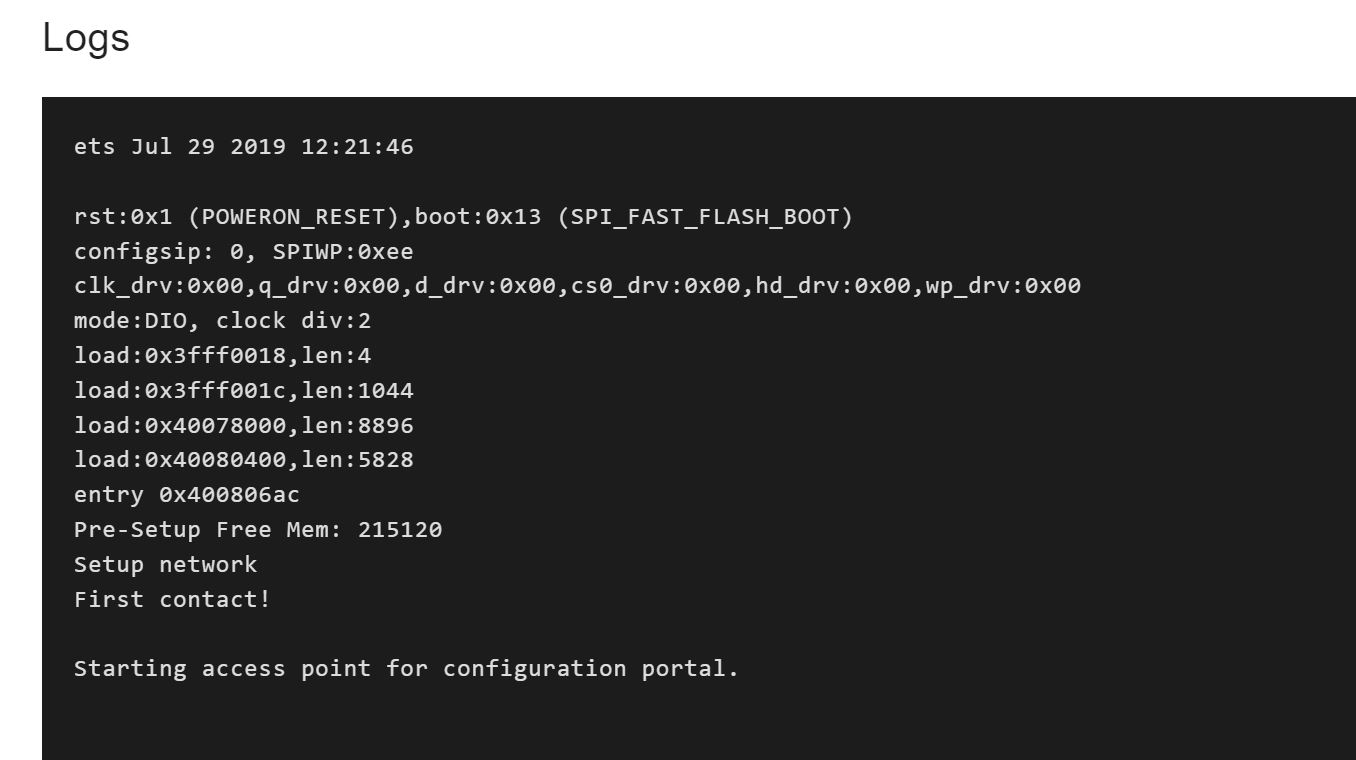
- In the second case when you go to the LOGS & CONSOLE page you will see:
Note that the ESPresense code has started a network access point. - In each of the two cases you will need your MQTT information. In a new tab go to your home assistant web page and navigate to Settings->Integrations->MQTT. Click on the configure link and then click on the re-configure MQTT link. This will display a page with the settings you will need to copy into the ESPpresense configuration.
- Return to the espresense.com tab.
- You now are going to go to the ESPresense configuration web page. In the first case you just need to click the Back link and then click the “Visit Site” link. It will connect to the IP address of the ESP32, which is the ESPresense configuration page. In the second case you need to connect to the new access point by opening your network settings and finding the access point that starts with “espresence-“. Connect to that network.
When you connect it should automatically open a tab to the configuration page at 192.168.1.4. - So in either case you should now be at the ESPresense configuration page. But in the second case you have not yet discovered your device_id. So change tabs to the espresense.com/firmware page, and on the log page reset the ESP32. It should then list the Devices and you should be able to find the device id you need. Then go back to the ESPresense tab.
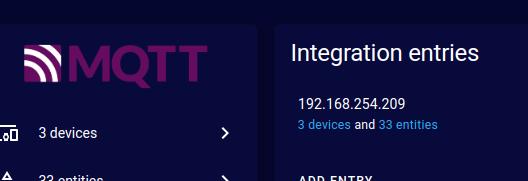
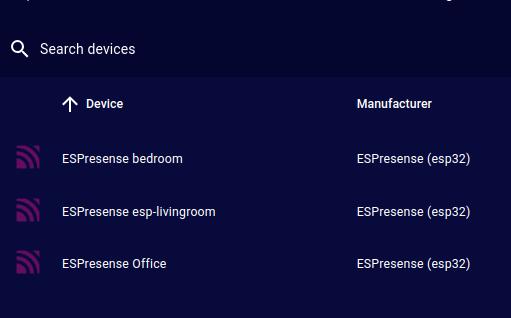
Enter your network SID and wifi password, then fill out the MQTT section using the values from the Home Assistant tab. When done, click the Save button, then click the Restart Button. The web page will say “Bye!”. Now disconnect from the espresense- network and reconnect to your standard network. - Go back to the Home Assistant Integration page and select MQTT again. You should see an added device on the page. In my case I had two already installed and now it is showing 3 devices.
Clicking on the “3 Devices” show the list of the devices. - Adjusting the distance on each ESP32 can be done by clicking on the device name in the MQTT list of devices (see the image in step 4). When you go to the device page there are two sections. One is configuration, this is where you can change the value for distance:
Then you can update that value to the ESP32 in the Diagnostics section: - Now you need to create a sensor in your configuration.yaml file. This is easy to do, simply add the lines:
where you replace the name: with what you want to call your sensor. I am using my smart watch, which is an Amazefit watch. The name can be anything you want. The device id needs to be the id of the watch, which is it’s Bluetooth id. This id is also in the state_topic line. This is the id you got in step 3. - You can now test this by going to the Developer section in Home Assistant and using the State tab. Enter your sensor name in the search box and you should find it:
Now you can use the sensor in automatons. What is cool is that when you have multiple ESP32s with ESPresense the state value of the sensor will automatically change to the ESP32 name closest to your watch (of whatever device you are using)


Conclusions
I’m intrigued by the concept, but I’m still experimenting with it. Currently, I’m on the ground floor beneath my bedroom in my two-story house, without an ESP32 device in this area yet. Consequently, Home Assistant is detecting the bedroom sensor located above me. Additionally, since I don’t have complete coverage throughout the house, there are instances where it registers me as “not home,” despite my presence. This issue arises because it’s unable to detect any of the sensors. I believe the solution lies in adding more sensors to enhance coverage.