
In this guide, we’ll turn the BOSGAME P3 Mini PC into a dedicated AI photo-tagging powerhouse. We’ll be using Zorin OS (for its polished Linux stability), Immich (the best open-source photo manager), and a NAS that I already have for massive, scalable storage.
1. The Hardware: Why the BOSGAME P3?
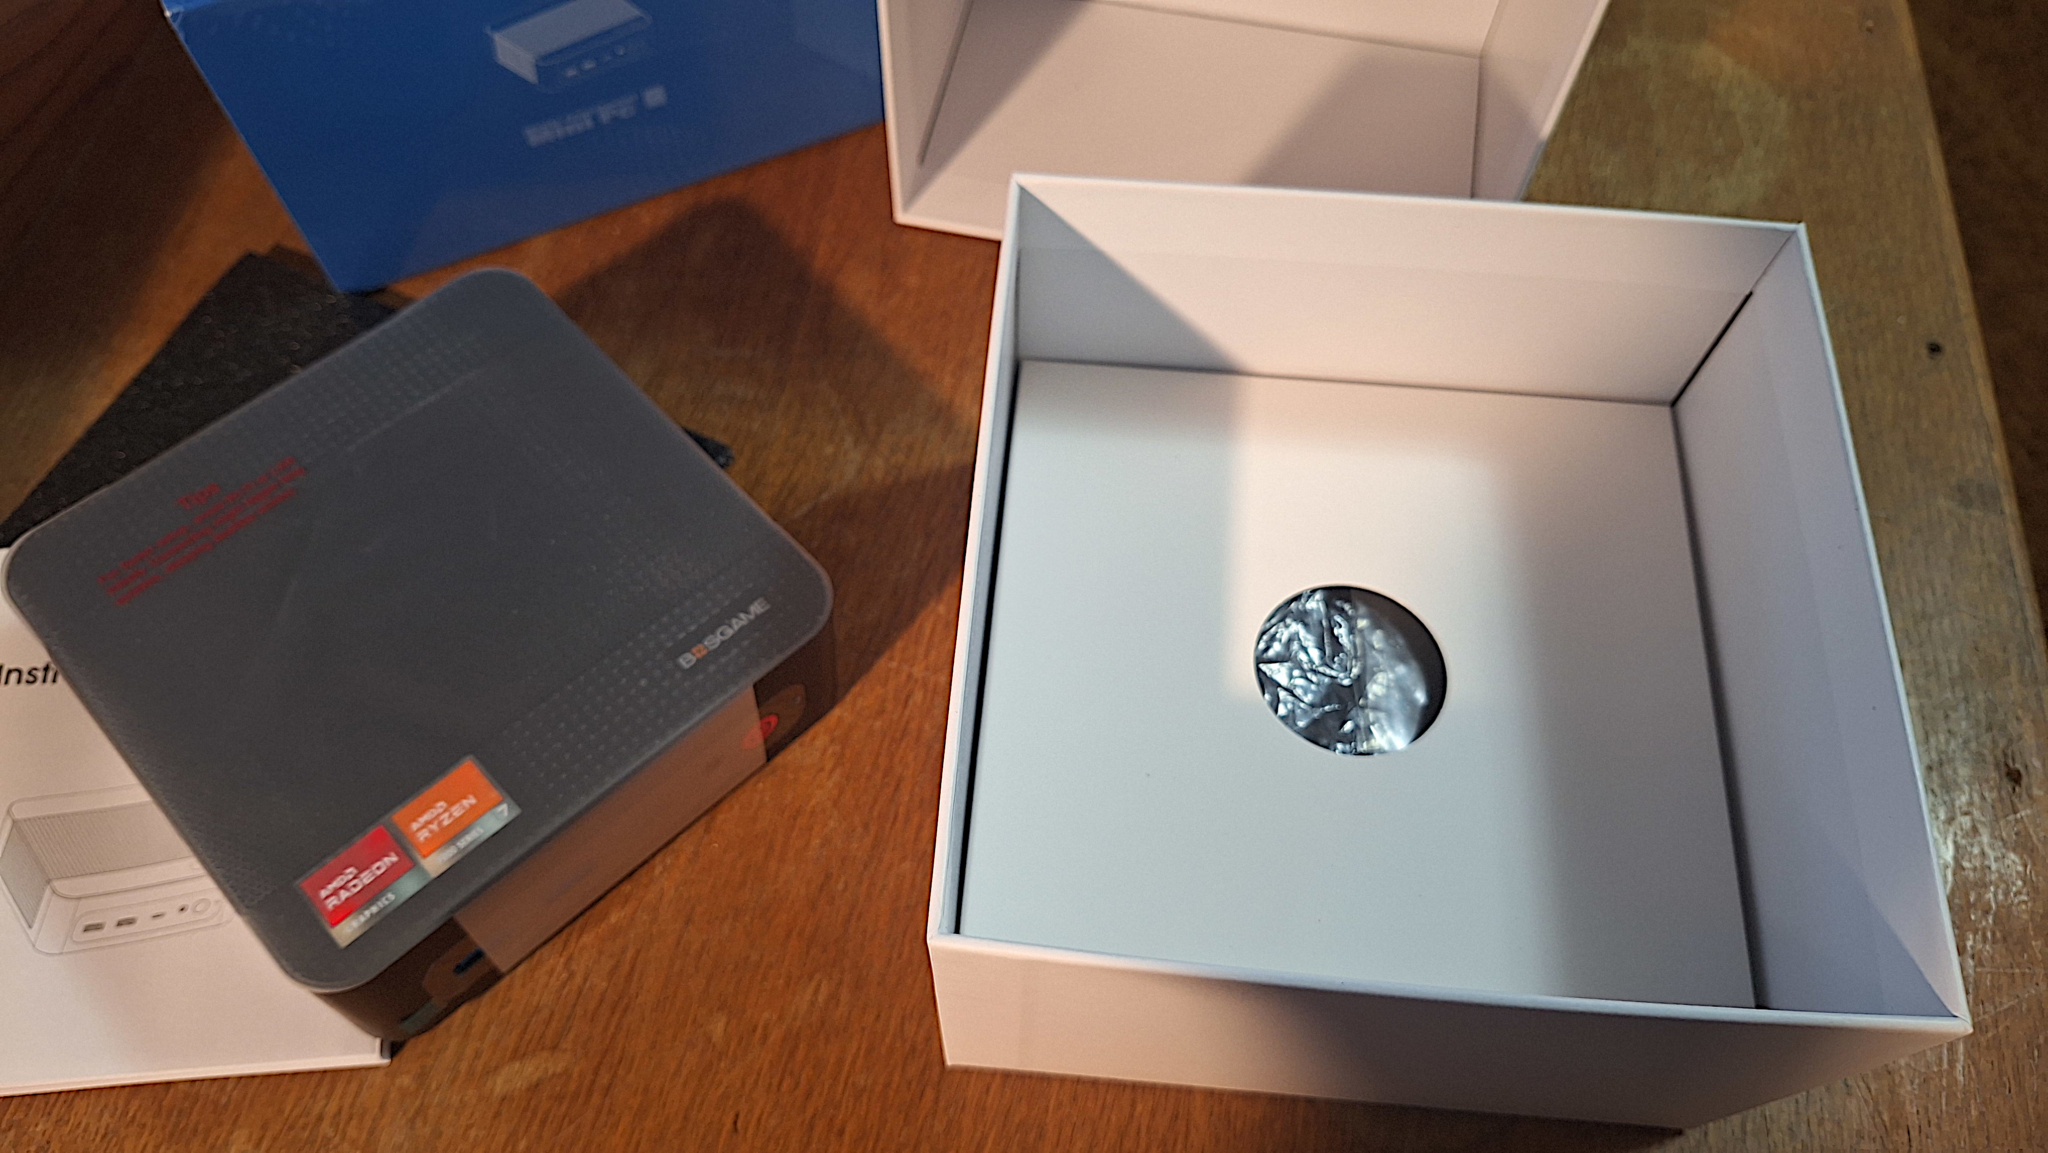
El BOSGAME P3 Mini Gaming PC is a “sleeper” AI machine. While marketed for gaming, its Ryzen 7 7840HS processor includes the Radeon 780M iGPU, which is incredibly efficient at running the visual models needed for photo tagging.
Unboxing

Prep the BIOS:
Before installing Linux, boot into the BIOS (tap F2 or Del at startup):
- Allocate VRAM: Find the “GFX Configuration” and change the UMA Frame Buffer Size to 4GB or 8GB. This gives your AI models dedicated “video” memory from your 32GB pool.
- Enable Virtualization: Ensure AMD-V is enabled.
2. Software Foundation: Zorin OS
I recommend Zorin OS Core. It’s built on Ubuntu, meaning it has the best driver support for the Ryzen 7’s hardware acceleration, but with a much cleaner interface for beginners.
- Flash Zorin OS to a USB drive using Etcher.
- Install it on the BOSGAME P3, choosing the “Install Third-Party Software/Drivers” option.
- Once installed, open the Terminal and update everything:
sudo apt update && sudo apt upgrade -y
3. Connecting your NAS
Step 1: Mount the NAS via NFS
First, we need to install the necessary tools and map the network drive to your local system.
- Install NFS utilities:
sudo apt update && sudo apt install nfs-common - Create a mount point:
sudo mkdir -p /mnt/photos - Edit your fstab for auto-mounting:
sudo nano /etc/fstab - Add your NAS line: Replace the IP and path with your specific NAS details.
192.168.1.50:/volume1/photos /mnt/photos nfs defaults,rw,soft,intr 0 0 - Mount the drive:
sudo mount -a
4. Deploying Immich (The “Brain”)
Immich runs best via Docker. This keeps the AI tools separate from your main system.
- Install Docker: Follow the official Zorin/Ubuntu guide.
- Download Immich: Create a folder called
immich-appand download thedocker-compose.ymly.envfiles from the official Immich GitHub. - Configure the .env:
- Set
UPLOAD_LOCATION=/home/youruser/immich-data(for thumbnails/database). - Set your
TZ(Timezone).
- Set
- Launch: Run
docker compose up -d.
5. Supercharging with AI Tagging
Now for the magic. Immich has built-in Machine Learning settings.
- Login to Immich: Go to
http://<your-pc-ip>:2283. - Add External Library: Go to Administration > External Libraries. Add the path
/mnt/photos(your NAS). - Enable Hardware Acceleration: In the Immich Settings under “Machine Learning,” ensure it is utilizing your Radeon 780M via OpenVINO. This will make face detection and object tagging fly.
- Model Selection: For the best tagging results on this hardware, look into using the Moondream2 model within the Immich ML settings for descriptive captions.
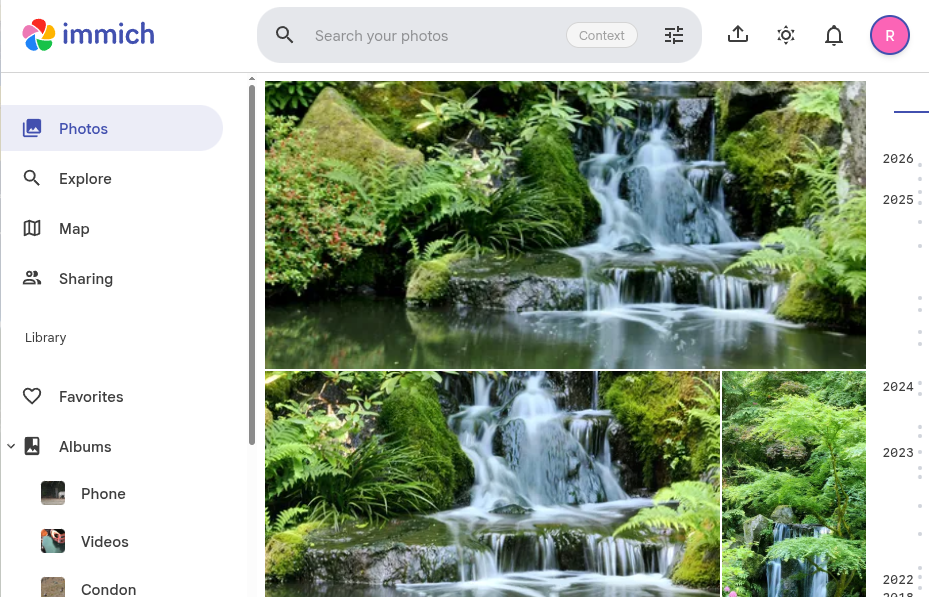
Final Results
Your BOSGAME P3 will now spend the next few hours (or days, depending on your library size) scanning every photo on your NAS. It will identify faces, recognize objects (like “Mountain,” “Dog,” or “Birthday Cake”), and make your entire history instantly searchable—all without a single byte of data leaving your home.
Next Step: Once your library is indexed, you can set up Remote Access using Tailscale or DuckDNS so you can view your private photo cloud from your phone anywhere in the world.